My Journey Of Building Graphics Rendering Engine Using Vulkan SDK | Week 8
We are 2 weeks away from final presentation. We still need to add few more things to our engine to be in the good spot. This week, we have tried to finish projective texture mapping with Projector supported with Keyboard and mouse Input. We have also added Multisampling Anti-Aliasing (MSAA) effect and started working on Shadow mapping technique.
Howdy Everyone! If you’re regular visitor and here to see my progress on this project, I am glad to see you here. If you’re new visitor, You might like to start from my first blogpost when I started working on this project from scratch. Thanks for visiting.
Last week we had first pass in Projective texture mapping but there were multiple issues.
- Image was being flipped while rendering.
- Border Color for Projected texture sampler wasn’t working as intended even with Border address mode & white color were used.
- Regardless of position of projector, Projected text was appearing stretched.
During last 1:1, Prof. Varcholik gave me feedback that probable reason for projective texture rendering issue appears to be not using white color as the border color for sampler. He also told me to verify whether I am using border addressing mode for sampler or not. So, I did checked my sampler instantiation code but I was already using white color as well as border addressing mode.
First I played with different values for border colors. Vulkan has 2 distinct sets of border colors ( integers and floats ). 3 main colors are Opaque black, Opaque White and Transparent Black. Other than these 3, you cannot have any custom color as a border.
Then I tried changing my addressing mode to VK_SAMPLER_ADDRESS_MODE_CLAMP_TO_EDGE rather than VK_SAMPLER_ADDRESS_MODE_CLAMP_TO_BORDER . Clamp to edge and clamp to border are basically same but the difference is which color is used once we are outside boundaries. We can make Clamp to edge behave like clamp to border if we have border color as a white so Instead of extending pixel color we are just using white color outside edge. Once I made that change, Problem appeared to be solved.
Then solution to the reverse Projection problem was pretty simple. In our fragment shader, we have added another check i.e., we do multiplicative identity only when our texture’s 4th component (w-component) is less than or equal to zero.
Now another important thing is how you debug projector frustum ? Currently there is no way to visualize frustum and changing values through ImGui isn’t too pleasant. So I could have added another proxy object with renderable frustum but because of time constraints ( As we have one less week to work on ), I want to finish as many as modules from my calendar before presentation. Hence I decided to implement first person camera alike controls for our projector. So now, we have IJKL + Right mouse click controls for our projector frustum. Its quicker approach to to debug projector.
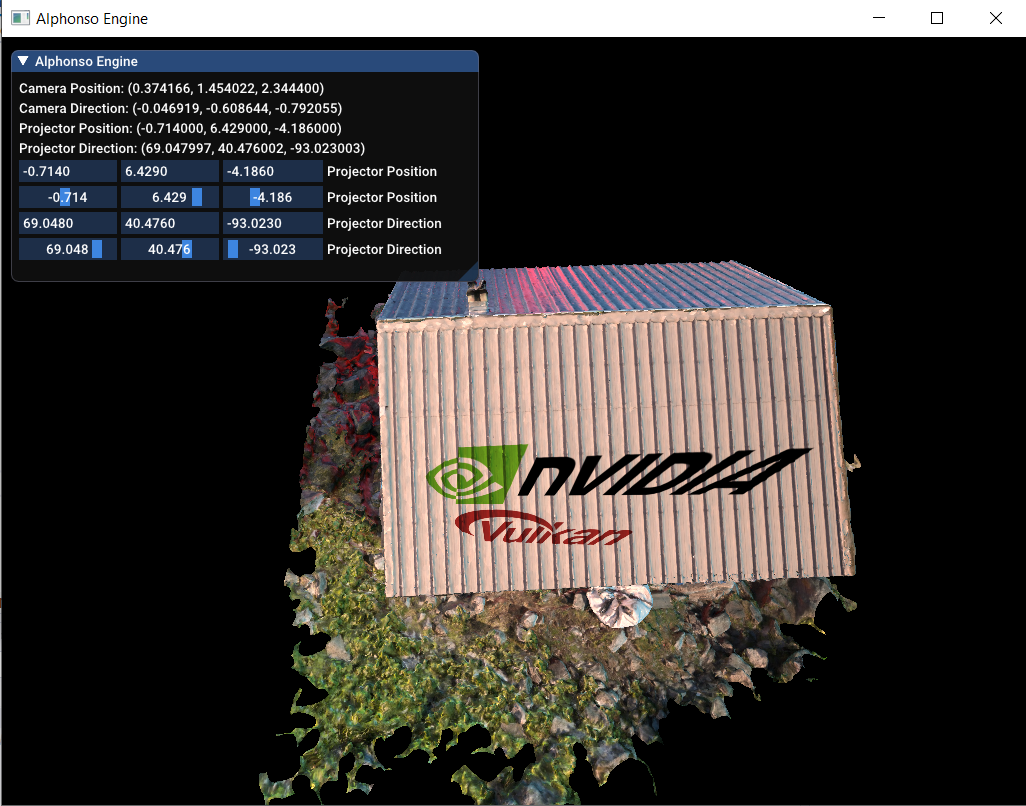
The last problem we have is our projective texture getting stretched. This clearly looks like problem with Projector’s Up vector, Direction vector & Target Vector. Even with manually calculating all vectors and applying rotation, Image is still appearing as stretched. I am going to ask this problem in upcoming 1:1 to get better understanding of co-ordinate system.
If you made above Changes then our model with projective texture mapped on it should look like this.


Before we move to Shadow mapping, Lets discuss Implementation of Multisampling Anti-Aliasing (MSAA). In DirectX, Implementing AntiAliasing is very straightforward, you can express it in a single line of code but in Vulkan, we need to setup MSAA explicitly.
MSAA uses multiple sample points per pixel to calculate its final color. Number of sample counts depends upon the hardware we are using. Most of the GPUs these days support least 8 samplers. As of now, We can have upto 64 samplers.
Link to This Project’s GitHub Repository
btw, Feel free to visit my GitHub repository to checkout my project and download code files.
You can go to “releases” section on my GitHub repo and download zip file under tag “Week_VIII_Progress“. So You can look into the code which I’m referencing here.
So first step of implementing MSAA is creating a helper function which will give us maximum number of samplers supported by our hardware. Currently, we are going to use Maximum number of samplers for anti-aliasing. We have written a function named getMaximumPossibleSampleCount() which we are calling from our pickPhysicalDevice() function and storing it in our global variable.
Second step involves setting up offscreen buffer which will store sampled color. It stores multiple samples per pixel. Hence we cannot render it directly to the frame buffer. We need to resolve this offscreen buffer to Framebuffer ( which has only one sample per pixel ). Creating any image buffer involves combination of 3 things. Creating buffer associated with its buffer memory and image view.
So, we have made changes in our createRenderPass() function to use our maximum samples instead of only one. Final layout of color attachment is now VK_IMAGE_LAYOUT_COLOR_ATTACHMENT_OPTIMAL instead of VK_IMAGE_LAYOUT_PRESENT_SRC_KHR as multisampled image cannot be directly displayed to screen without resolving. We have added new resolve attachment whose Final layout is now PRESENT_SRC_KHR. Then we have attached this Color attachment resolve reference to our subpass. finally we have incremented attachments count to accommodate our color resolve attachment.
Then we have updated our createImage() and transitionImageLayout() functions to accommodate number of sample counts as a parameter because its variable and depends on the ImageView we are setting. we won’t need MSAA for setting up depth buffer. In that case, we can use default sampler count i.e, 1 Sampler.
Next step involves creating new function createMSAAColorResources() which is very similar to createDepthResources() but it has different parameters for ImageAspectFlags, Old Layout and New Layout. We are using old layout as Undefined ( VK_IMAGE_LAYOUT_UNDEFINED ) and new layout as VK_IMAGE_LAYOUT_COLOR_ATTACHMENT_OPTIMAL .
Final step involves updating transitionImageLayout() function to include another branch where old and new layouts are the ones described above.
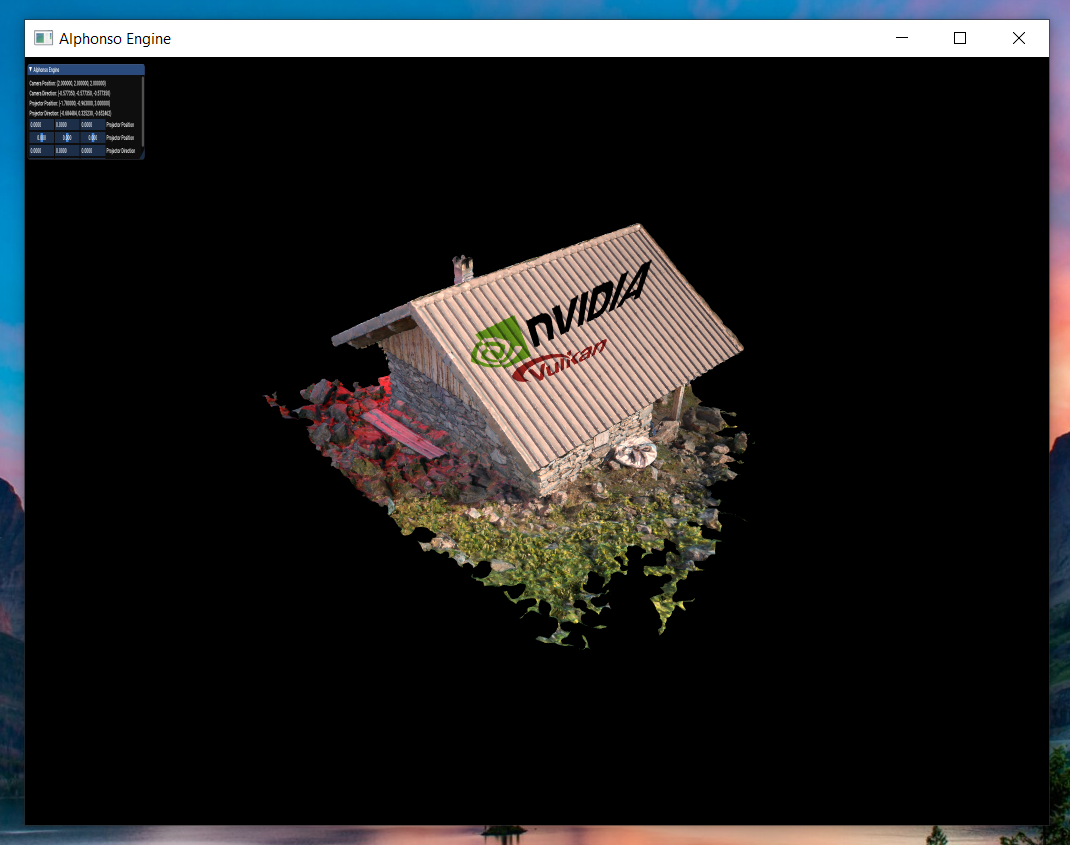
This is it. If everything is setup correctly, you should be able to see following output.


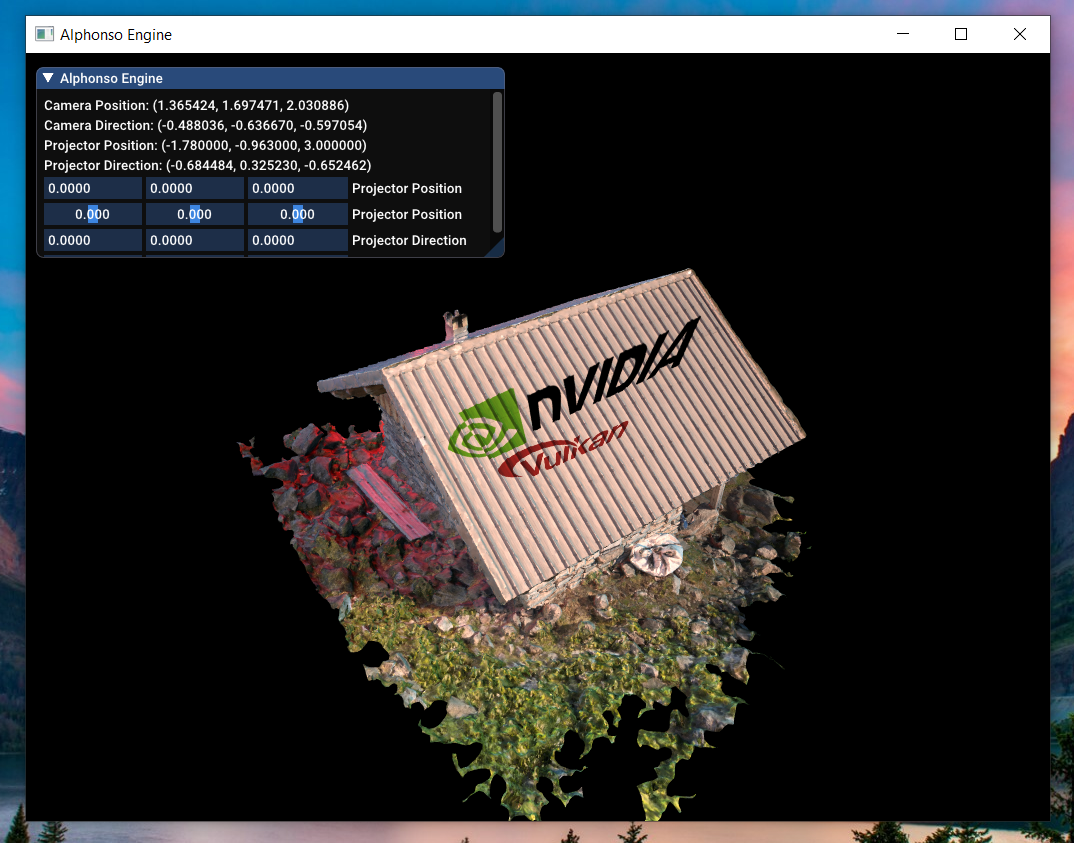
But wait, there is a problem. Why ImGui appears to be much smaller suddenly ? I used RenderDoc to find out this error. So ImGui has its own set of pipeline which uses only one sampler. I did some tinkering and finally decided to change imgui_impl_vulkan.cpp to accommodate calculating maximum number of available samplers based on the hardware. I just copied our utility function in ImGui implementation to use maximum samplers and change the pipeline to use that sample count instead of one. Problem solved!
Now your screen should like this if you made appropriate changes in Imgui pipeline.


This Week Task:-
I am going to complete Shadow Mapping by upcoming Friday ( In 2 days ) and try to get feedback again to move onto next task suggested by Prof. Varcholik.
Next Week Task:-
There are 2 tasks remaining. Color Blending and Color Filtering. I have already added Color Blending while implementing ImGui. It was just part of pipeline attachment but I am gonna add some new tasks instead as per Prof. Varcholik’s suggestions.
Thanks for visiting. Have a great day ahead.. 🙂